
You are looking for a simple way to sell your online courses, where each of these courses consists of textual content, pictures and videos all in the same post. Here’s a tutorial in two parts that teaches you how.
Also, you are planning to offer both free and paid content, where some parts of the course would be visible to everyone, while others will only be available to paying customers.
All this is possible with Groups, WooCommerce and the Groups for WooCommerce extension. The Groups plugin allows you to restrict parts of your content to authorized members only. With the addition of Groups for WooCommerce, you can sell memberships to your audience and monetize your courses.
In this first part, we will organize our content so that the free sections of our course are available to everyone, while the paid sections are only visible to members.
For this first part, it is sufficient to have Groups installed and activated. For the second part of this miniseries, you will also need to have WooCommerce and the Groups for WooCommerce extension installed and activated.
How to protect your premium Content
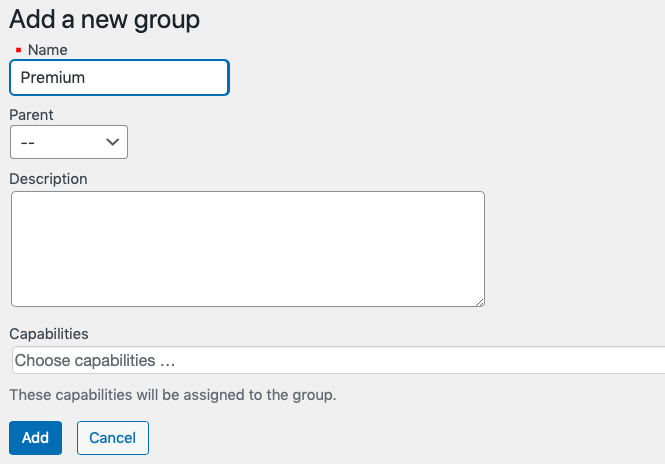
First we need to create a group that we will use to protect content. We name our group Premium and use it to give access to protected content to members of this group, i.e. those who pay us for their membership.
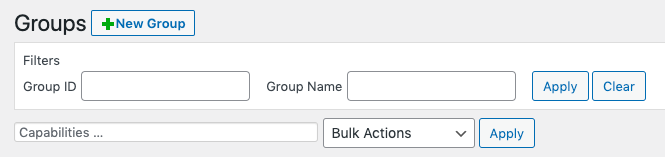
To add this new group, we go to Groups > Groups on our WordPress dashboard and click the New Group button.
This will bring us to the screen that allows to create the new group. We type in the name of our group Premium in the required field and then simply click on the Add button to have that group created.
Well done! We’ve created your first group! Now let’s move on to create our course content …
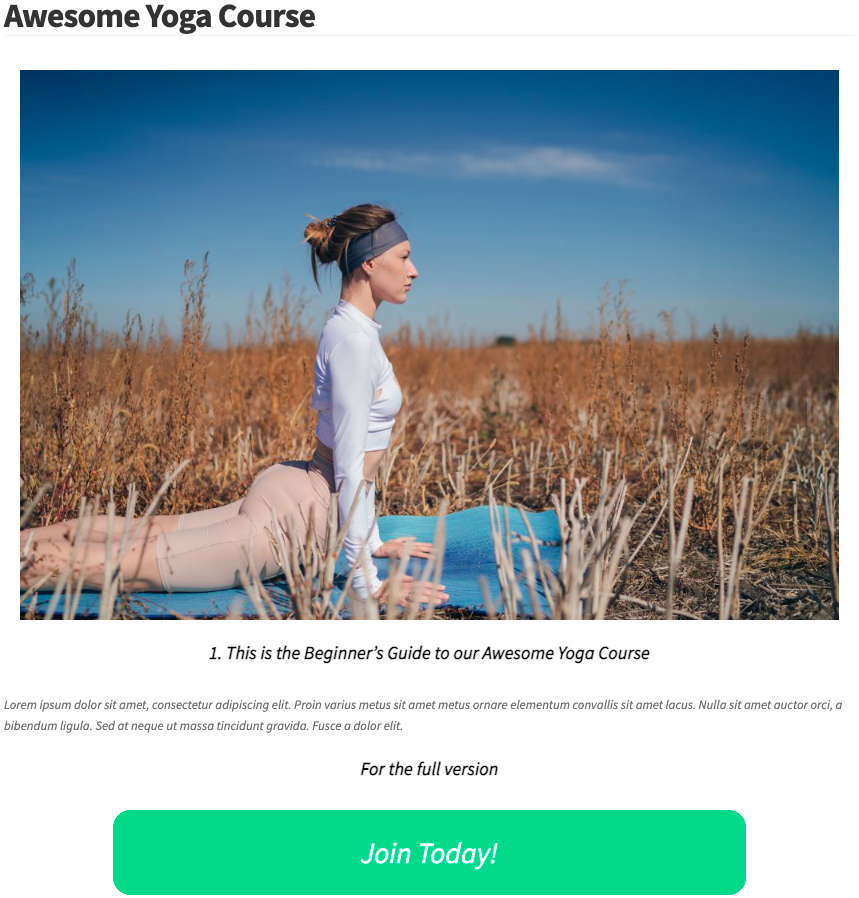
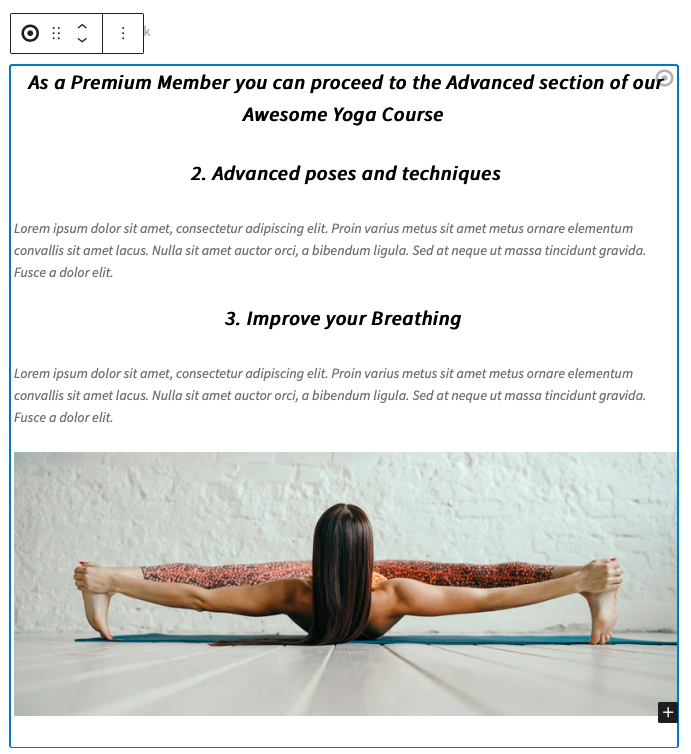
We need to create a new page that will contain our course content. Remember that we want to have free and paid content placed on the same course page. If you look at the first two images at the beginning of this post, you can see the free part that we have prepared for everyone, followed by a call to action in the form of a big green button that invites the viewer to join. We will talk about this section again further below.
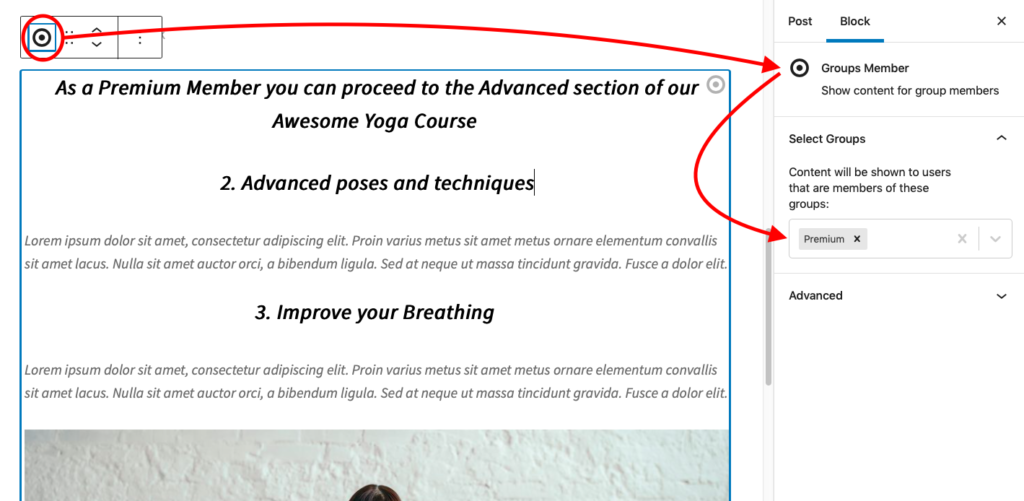
For the parts that are going to be for members only, we will add a Groups Member block after our free content, and place the premium sections inside that protected block’s content area.
To make it really easy to follow, we only use one protected block in this example, but know that you can create as many protected blocks as you want.
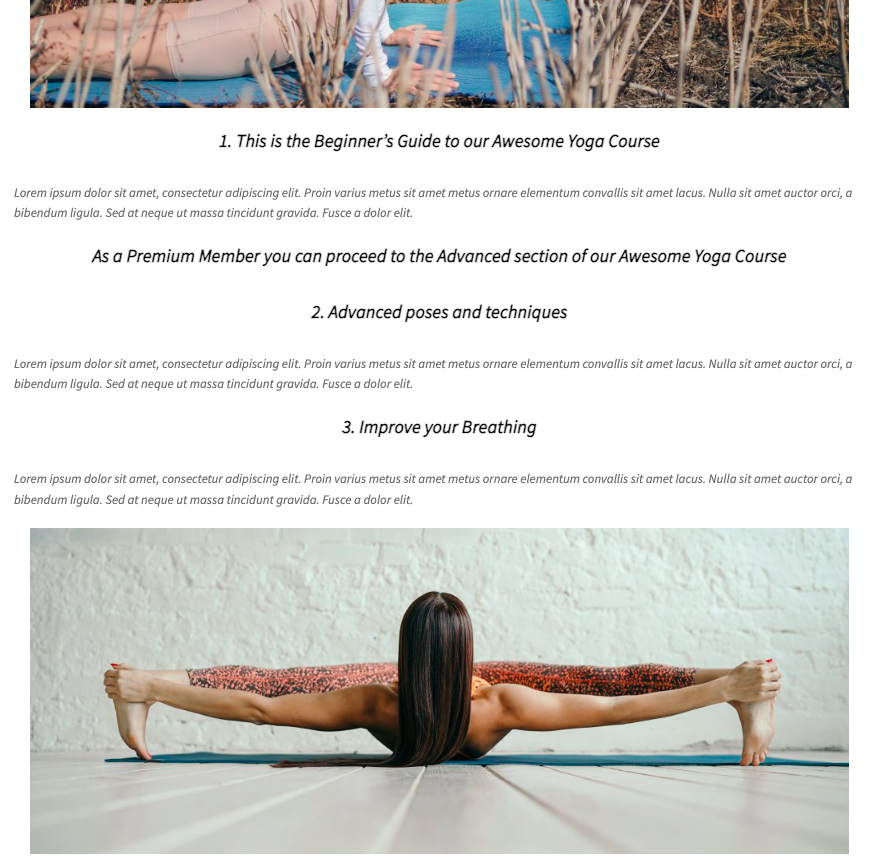
First, let’s look at what we are going to create. This is how our protected block will look like:
Now we have created the content for our paying members inside that block, but we must also tell groups who is allowed to see its content. With this block selected in the editor, we choose the Premium group from the block’s options.
As we’ve already noted before, you can create as many protected blocks as you want. In this example, we just keep it simple and use only one instance of the Groups Member block.
We’re almost ready to publish our new course … but what about the call to action? Are we going to show this huge green button to everyone? No!
Here’s an exercise for you to practice: we are going to use another convenient block that the Groups plugin provides, the Groups Non-member block. Go to the Blocks documentation page and look at the example. Now create a block that is only shown to those who are not members of the Premium group. Put our call to action content inside that block. Need help or have questions about this? Post a comment below!
We’re ready to publish our course. Hit that Publish button and visit the page!
To test the page, create a new user and assign it to the Premium group. Open the page in a different browser (or in your browser’s incognito mode), you should see the free content and call to action part. Now log in as that user you’ve just created, visit the page again and you will see the free content and the premium content, while the call to action part is gone.
Now that we have structured our course content properly, we are ready to proceed to monetize our course via a membership product. Tune in to Part 2 of this tutorial next week!
If you have any questions for now, feel free to post a comment below.
Photo Credits – Groups, Block Editor by me. Yogini in a split pose, Yogini in a dog pose by Oksana Taran.


No comments yet.