In Part 1, we described how we can structure the course content and restrict specific sections of it to members of the Premium group.
In this second part we will monetize our course content via a membership product using WooCommerce and the Groups WooCommerce extension.
Once a customer buys that product, he automatically becomes a member of the product’s related group, the Premium group in our case, and gains access to the sections of the course that are visible only to Premium group members.
This leads to our first step, which is to create a new product. A membership product is like any other simple or variable product but with a group setting predefined.
To keep this guide simple, we will briefly describe the process of adding a new Simple product using only the necessary data for our purpose and focus instead on the part related to the membership monetization. For those that are less familiar with the process, there is a detailed guide on adding new products with WooCommerce in the plugin documentation.
Setting up the Group Membership Product
Once we click on Products > Add new from our WordPress Dashboard, we are ready to add some basic options and later on we will choose the group membership to attach to this product.
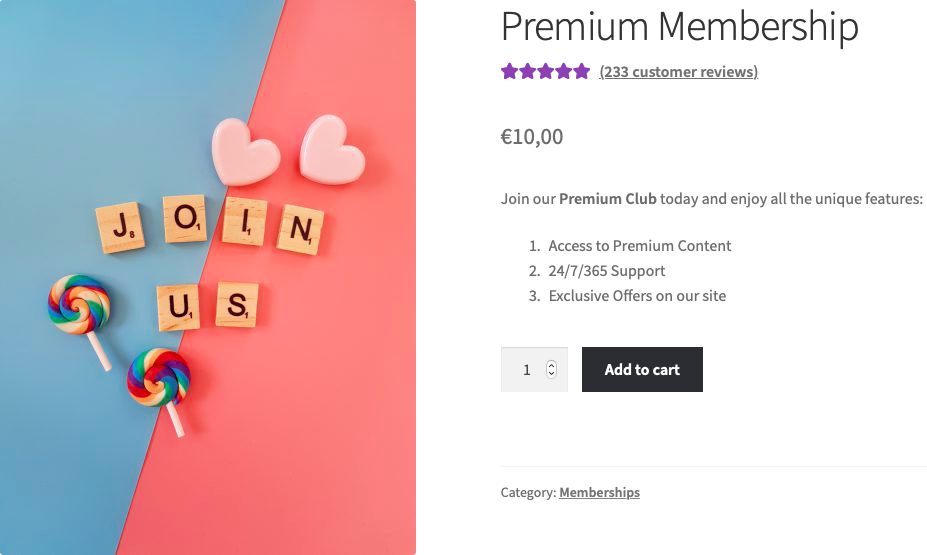
At this point you are recommended to at least specify a title, a description and an excerpt in the equivalent fields and add a Product Image. Furthermore and under the Product data panel, make sure to specify the Regular price under General and check the Virtual checkbox. The latter option indicates that no physical deliveries will be made as this will be a pure membership service product.
Before the product is ready to be published, we also need to choose what kind of group membership it gives access to.
Specifying the Group Membership
To make things simple and easy to follow, our product will provide lifetime membership to the customer with its purchase.
While still in the Product data panel we can set the membership group that is granted by our product.
Let’s click on the Groups tab and choose Premium in the Add to Groups option. This option determines the group that a customer becomes a member of, after buying this product.
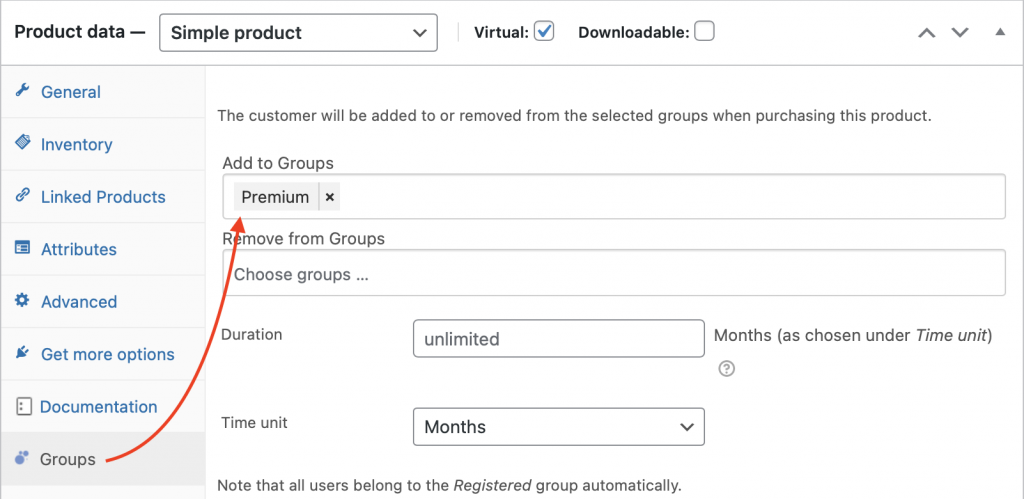
As mentioned above, our product will grant lifetime access, so we will not use the options related to a duration here. If you would like to find out more about how to set up time-limited memberships or memberships based on subscriptions, please have a look at the Memberships documentation page of the Groups WooCommerce extension.
We are ready to Publish our new Premium Membership product and visit the product page which in turn brings us to the last step, where we will promote the product on our site, through the course page.
Promote the Membership Product
Now that the product is launched, we can promote it effectively via the free part of the course itself. Offering premium access directly from within the course makes it easily reachable for the readers who are our natural target customers.
For this last step, we are going to utilize another block provided by the Groups plugin, the Groups Non-member block and a call to action in the form of a big green button. We already proposed to add this block as an exercise for you to do in Part 1 of this miniseries.
Let’s go back and edit the Awesome Yoga Course page we already created in the previous part. If you haven’t already done so, add the Groups Non-member block after our free content.
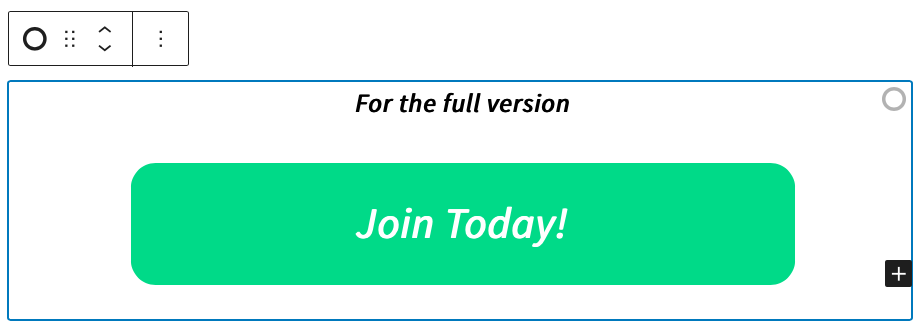
Inside the block’s protected content area, we can add a link to the Premium Membership product and a suitable description of what is included with that membership. The content and styling is obviously subjective, but the main purpose is to make an effective call to action that will inspire our potential customers.
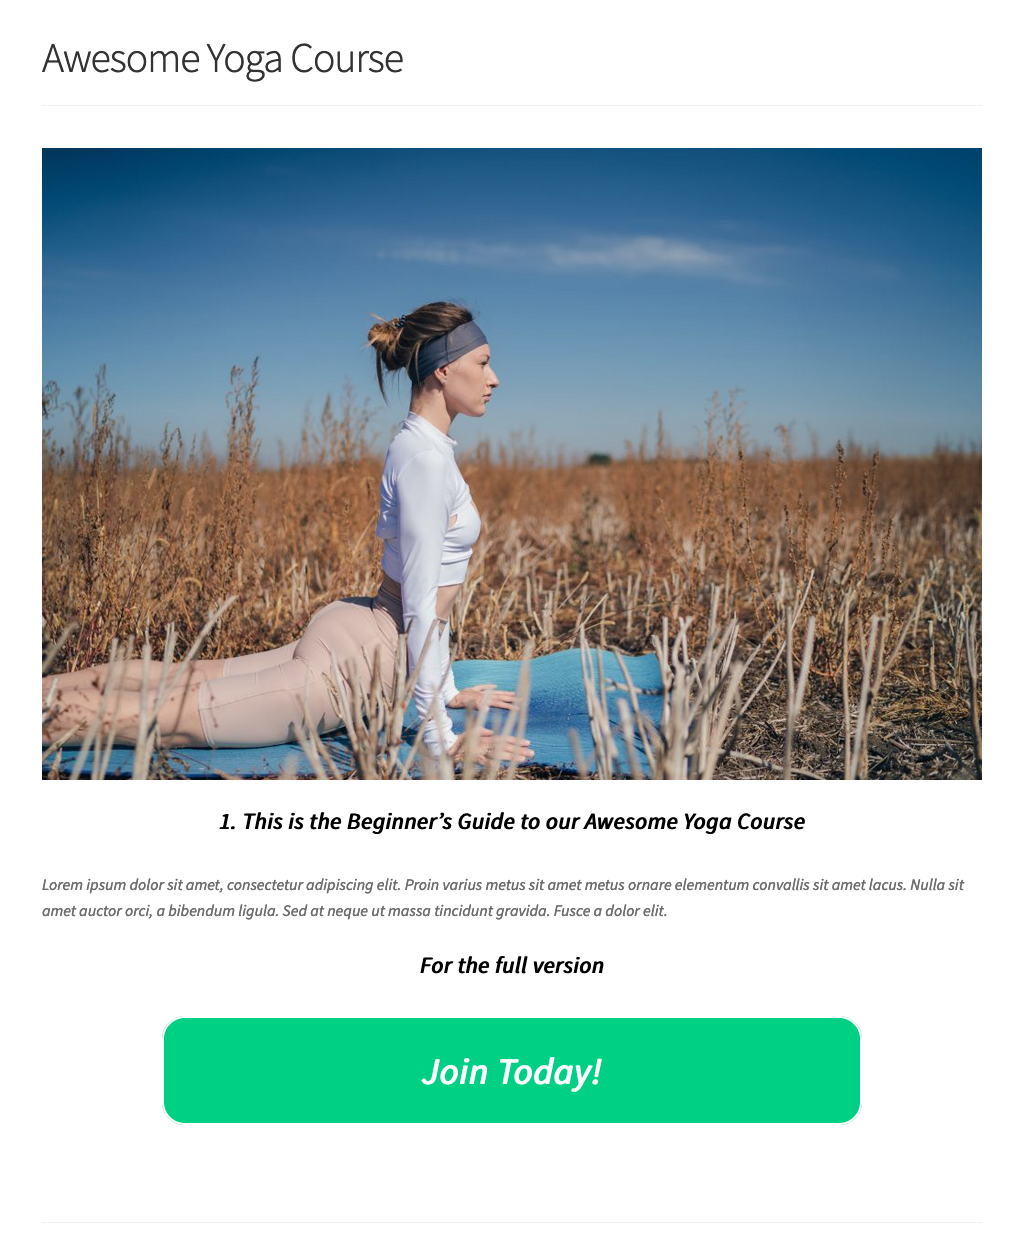
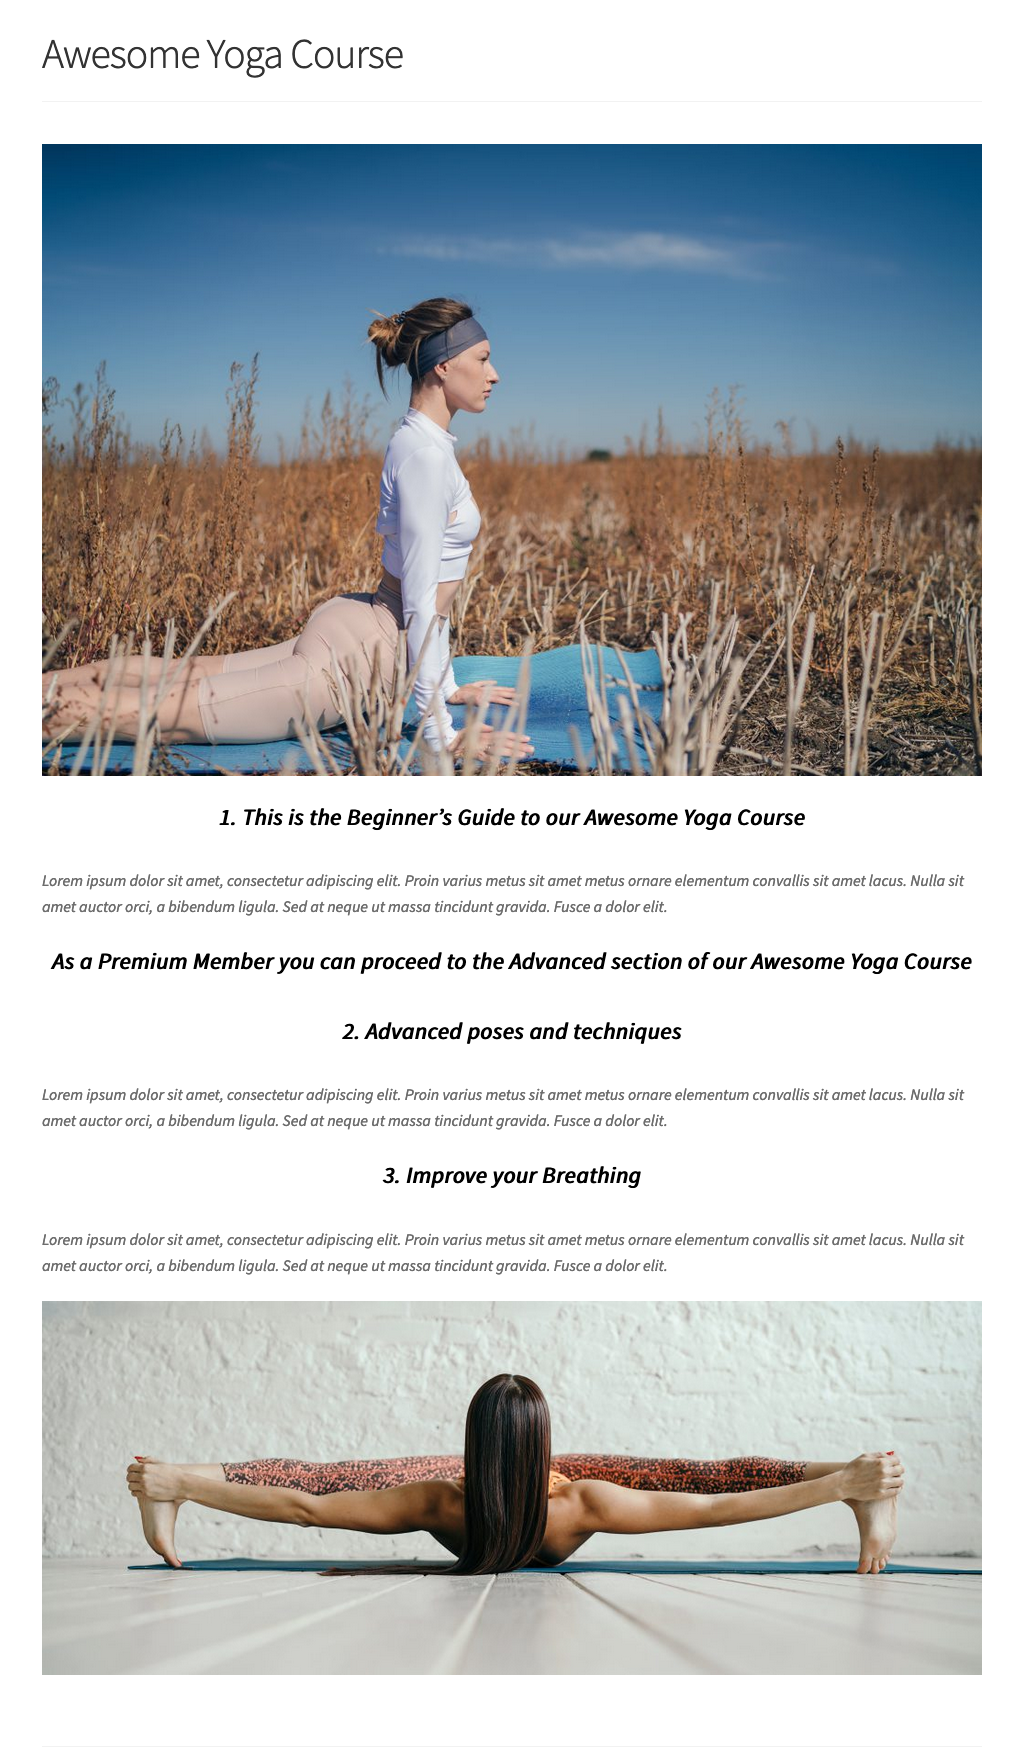
Shown below, is how our protected block will look like in our example. The reader who reaches that point clearly sees that a full version is available, and that it can be obtained by following the button. The button links to our Premium Membership product:
Now that our call to action is created, we must tell Groups who is allowed to see it. With this block selected in the editor, we choose the Premium group from the block’s options.
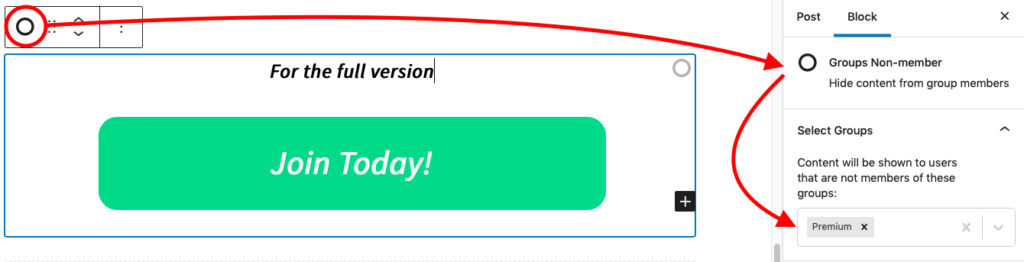
But why should we add this green button inside a Groups Non-member block instead of using another Paragraph block? The reason is simple, this block makes its content visible only to those who are not members of the Premium group members or simply those that haven’t purchased yet our Premium Membership product.
Now that the course post is ready let’s hit the Update button and visit the page!
To test the page, open it in a different browser or in your browser’s incognito mode. You should see the free content and call to action part. Now click the button and proceed with a test purchase of your Membership product. Once your order is Completed, visit the page again and you will see the free content and the premium content, while the call to action part is gone.
Now our course is fully structured and through the call to action we can monetize it via our Premium Membership product.
You can offer lots of different courses on your site using this method. Create your courses with free and protected content, allow your customers to unlock the protected content purchasing one or more membership products.
If you have any questions, please post a comment below.
Photo Credits – Groups, Product data, Block Editor, Course Views by me. Product featured image by Linda Eller-Shein
Leave a Reply